Make Your Own Linen Curtains
In Scandinavian homes, natural light isn’t just welcomed — it’s celebrated. With long, dark winters and fleeting summer sun, every window is treated like a precious portal to nature. And what better way to frame those windows than with soft, flowing linen curtains?
Whether you’re renovating your space or simply craving a lighter, calmer atmosphere, creating your own linen curtain DIY can be both a practical and deeply satisfying project. Inspired by Scandinavian textiles, this project brings together natural beauty, functionality, and a touch of that unmistakable Nordic charm.
In this guide, we’ll walk you through everything from choosing the right linen to cutting, hemming, and hanging your handmade Nordic window treatments. Expect personal tips, fabric insights, styling ideas — and a gentle nudge to slow down and create something that not only transforms your home but also reflects your values of simplicity, sustainability, and soft elegance.
Why Linen Curtains Are a Scandinavian Favourite

Light, Airy, and Always in Style
Scandinavian interiors are known for their pale colour palettes, minimal clutter, and strong connection to the natural world. Linen curtains complement this aesthetic effortlessly because they:
- Diffuse light beautifully, softening harsh rays without shutting them out
- Breathe naturally, allowing airflow and regulating temperature
- Age gracefully, becoming softer with each wash
- Offer understated texture, adding visual warmth without bulk
Plus, linen is a renewable material that supports the slow-living ethos so essential to Nordic interiors.
Benefits of Making Your Own Curtains
Before diving into the step-by-step process, let’s talk about why this linen curtain DIY project is worth your time — beyond saving a few pounds.
Personalisation
- Choose your exact length, width, and finish
- Select colours that match your unique palette
- Add special touches like hand-stitched hems or fabric ties
Sustainability
- Use ethically sourced, OEKO-TEX®-certified linen
- Avoid fast decor and create something that lasts
- Repurpose fabric scraps for napkins or accessories
Pride of Creation
There’s something deeply fulfilling about seeing a handmade curtain dance in the breeze. It’s more than fabric — it’s a small piece of craftsmanship that becomes part of your everyday routine.
Choosing the Right Linen
Types of Linen
Not all linen is created equal. Here’s what to look for when selecting your Scandinavian textiles:
- 100% Linen: Breathable, durable, and the most natural choice
- Washed or Pre-softened Linen: Offers a relaxed, wrinkle-softened look typical of Nordic homes
- Medium Weight (150–200 gsm): Perfect for curtains — heavy enough to hang well, light enough to move with the breeze
- Colours: Classic off-white, stone, sand, or dusty grey work beautifully with Nordic colour schemes
Where to Buy
Look for sustainable sources such as:
- The Linen Works (UK-based, OEKO-TEX® certified)
- Not Perfect Linen (small-batch Lithuanian producers)
- Merchant & Mills (high-quality washed linen in earthy tones)
Supplies You’ll Need
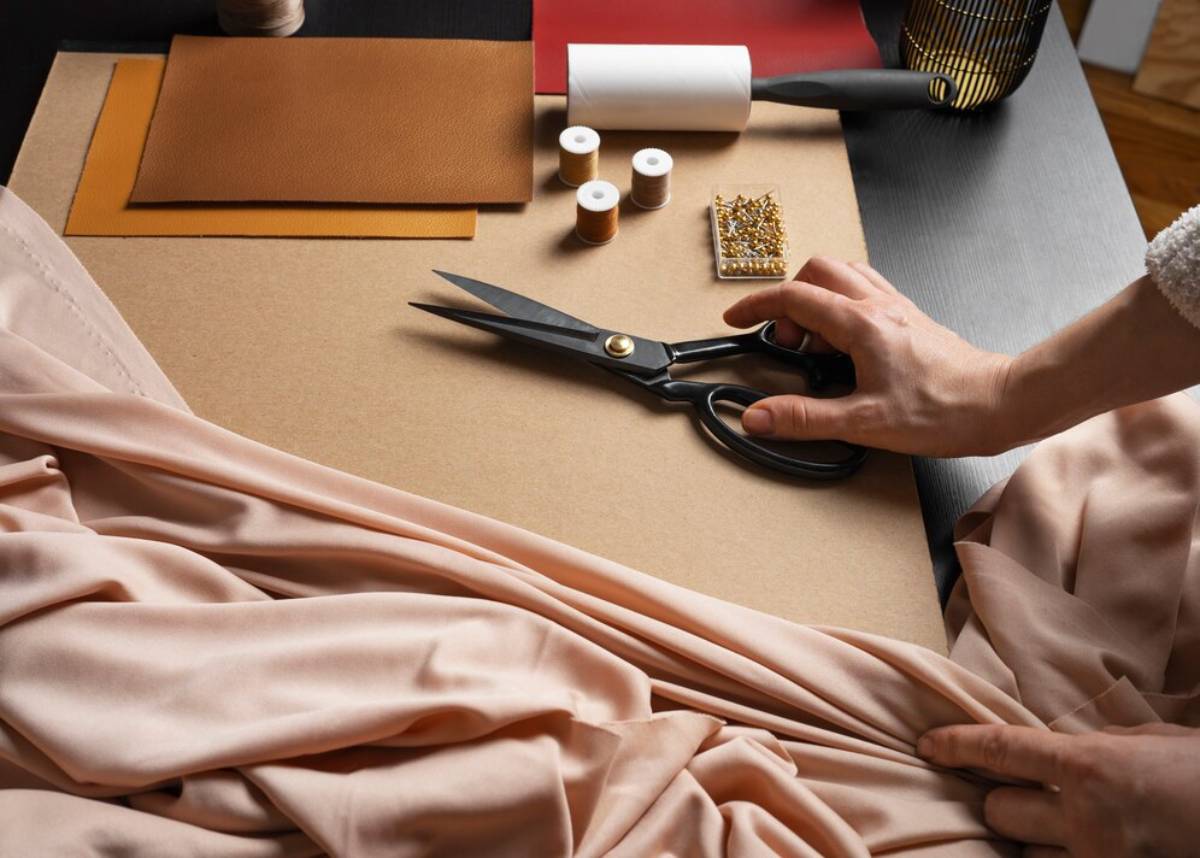
Let’s gather everything before we start sewing:
Tools
- Sewing machine (or hand sewing needle if you’re going slow)
- Fabric scissors
- Pins or clips
- Measuring tape
- Iron and ironing board
Materials
- Linen fabric (length = window height × 2, width = window width × 1.5 to 2)
- Thread (match your fabric or choose a soft contrast)
- Curtain tape, tab loops, or fabric ties (your choice of hanging style)
- Optional: lining fabric (for blackout or thermal needs)
Scandi Styling Tip: Keep the curtain unlined for maximum light diffusion — unless you’re in a bedroom, where you may prefer added privacy.
Linen Curtain DIY

Measure Your Window
Start by measuring the width and drop of your window or curtain rod. For an elegant Scandi look:
- Width: Multiply the width of your window by 1.5 or 2 for light fullness
- Length: Decide if you want a standard length (just above the floor), floor-length (touching the floor), or puddled (extra fabric that pools slightly)
Don’t forget to account for hems and headers — add approx. 10–15 cm to the top and bottom.
Cut Your Fabric
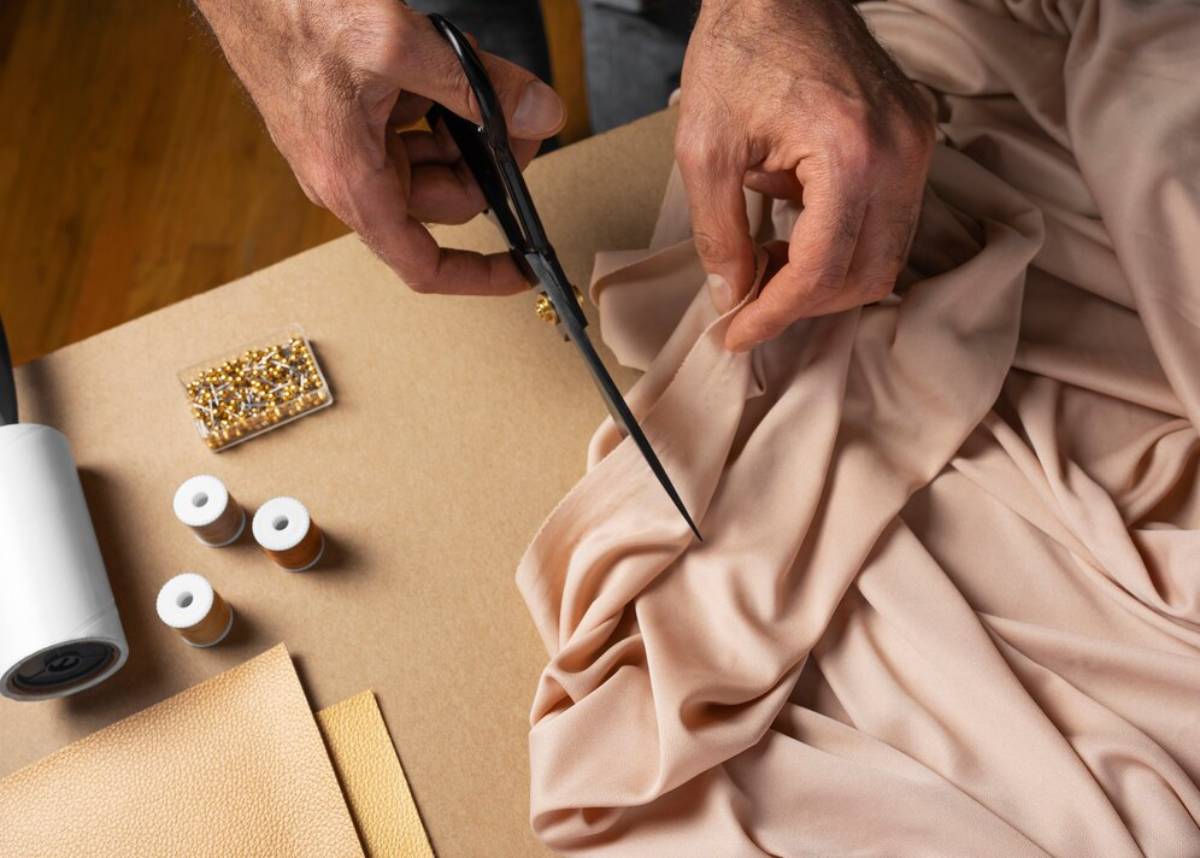
Lay the fabric out flat on a clean surface. Mark and cut using sharp scissors or a rotary cutter for straight lines. If you’re working with pre-washed linen, expect a slightly rustic edge — that’s part of the charm.
Hem the Sides
Fold each long edge over by 1.5 cm, press with an iron, then fold again and pin. This double-fold creates a clean, concealed edge.
- Sew straight down each edge using a straight stitch.
- Backstitch at the beginning and end to secure.
Hem the Top and Bottom
Repeat the process with the top and bottom edges, but allow extra fabric for:
- Top hem (5–10 cm): If you’re adding curtain tape or loops
- Bottom hem (7–15 cm): For a weighty, professional drape
Sew slowly for clean lines — linen has a gentle stretch, so take your time.
Attach Hanging Hardware
Now decide how you want to hang your curtains:
Option 1: Curtain Tape
- Easy and adjustable
- Great for ready-made rods
- Stitch it to the inside top hem and gather as needed
Option 2: Tab Tops
- Make simple linen loops and sew evenly across the top
- Rustic, charming, and no hardware needed
Option 3: Fabric Ties
- Soft and romantic
- Knot directly over the rod
- Ideal for lightweight, bedroom curtains
Press and Hang
Give the entire curtain a final press with a medium-heat iron (or hang immediately if you prefer a lived-in, crinkled look).
Hang them up and step back. Notice how the room feels different? Lighter, maybe. Softer. That’s the Nordic window treatment magic.
Styling Ideas for Different Rooms
Living Room
- Choose pale flax linen for maximum light flow
- Pair with neutral walls and birch furniture
- Add a wool rug and wooden coffee table for texture
Bedroom
- Use double layers — one sheer, one heavier
- Opt for stone or dusty mauve tones
- Add linen pillowcases or a bed throw to tie it all together
Kitchen
- Try café curtains (half-height)
- Use tab tops for easy removal and washing
- Pair with terracotta pots and hanging herbs
Entryway or Studio
- Use a linen panel as a room divider
- Choose minimalist ties or invisible curtain clips
- Let it softly separate zones without blocking light
Real-Life Example: Emma’s Slow-Made Space
Emma, a digital illustrator based in Edinburgh, made her own linen curtains for her attic flat. “The windows are quirky — nothing standard fits,” she says. “I bought pre-softened linen in a muted sand tone and sewed them by hand over a weekend.”
She added small wooden beads to the tie ends for character and uses them daily as sun filters and privacy screens. “They catch the light in the morning like no store-bought curtain ever could,” she says.
Soft, Simple, and Made By You
Making your own linen curtains is more than a home improvement project — it’s an experience of creativity, calm, and intention. Inspired by Scandinavian textiles and rooted in the beauty of everyday life, this DIY gives you not just something to hang, but something to be proud of.
You’ll feel it in the slow ripple of the fabric as the window opens. In the way light dances through natural weave. In the sense of “I made that” every time you walk by.


