Build a Simple Floating Shelf with Clean Lines
Imagine walking into a room where everything has its place — no clutter, just a calm, considered space where function meets elegance. At the heart of this quiet order? The humble floating shelf. But not just any shelf — one with the clean lines and minimalist aesthetic inspired by Scandinavian woodworking.
Whether you’re looking to display a few curated objects, keep everyday essentials off the counter, or simply add character to a blank wall, a floating shelf DIY is the perfect place to begin. And the best part? You don’t need to be a seasoned carpenter. With a few basic tools, some thoughtful planning, and a love for natural materials, anyone can craft a minimal shelf that elevates both the space and spirit.
In this guide, we’ll walk you through every step — from material selection to mounting — while exploring the Nordic values of simplicity, sustainability, and function-first beauty. You’ll leave with the know-how (and hopefully the confidence) to build something that’s not just useful, but meaningful.
Why Floating Shelves Are a Scandinavian Essential
Functionality That Doesn’t Shout
Scandinavian design is all about purposeful minimalism. In Nordic homes, a floating shelf isn’t a design flourish — it’s a quiet solution. It provides:
- Clutter-free organisation without bulky units
- Space to display your favourite objects mindfully
- Visual lightness, keeping walls clean and airy
More than just storage, shelves become a canvas — a space to tell a story through materials, textures, and carefully chosen items.
Sustainability by Design
Scandi style celebrates natural materials and craftsmanship. A wooden shelf that you make yourself fits perfectly into this ethos:
- You choose sustainably sourced wood
- You avoid plastic-heavy, mass-produced alternatives
- You create something built to last — and be reused, repurposed, or passed on
What You’ll Need: Tools & Materials
Let’s start with the essentials. You can customise your approach based on your skill level and available tools, but here’s a solid base setup:
Tools
- Measuring tape
- Pencil and spirit level
- Drill with drill bits and screwdriver attachment
- Stud finder (optional but helpful)
- Saw (hand saw or circular saw)
- Sander or sandpaper (120 and 240 grit)
Materials
- Timber board (e.g. oak, pine, ash — around 2.5cm thick, 15–20cm deep)
- Wood screws
- Wall plugs or anchors (appropriate for your wall type)
- Floating shelf brackets (concealed style preferred for a clean look)
- Matte wood oil or beeswax (for a natural Scandinavian finish)
Build a Minimal Shelf
Plan the Size and Location
Start with purpose. What do you want the shelf to hold?
- Books? Choose a wider, deeper board.
- Art and décor? A shallow shelf (10–15cm) will do.
- Bathroom essentials? Consider wall height and water exposure.
Mark the desired location with pencil. Use a spirit level to keep things straight and a stud finder to locate secure fixing points.
Cut and Prepare Your Wood
Measure and mark your board. Saw it to length, keeping edges square unless you’re aiming for a bevelled or angled finish.
Sanding
- Start with 120 grit to smooth the surface
- Finish with 240 grit for a soft, touchable texture
- Pay special attention to edges and corners — slightly rounded edges are both safe and stylish
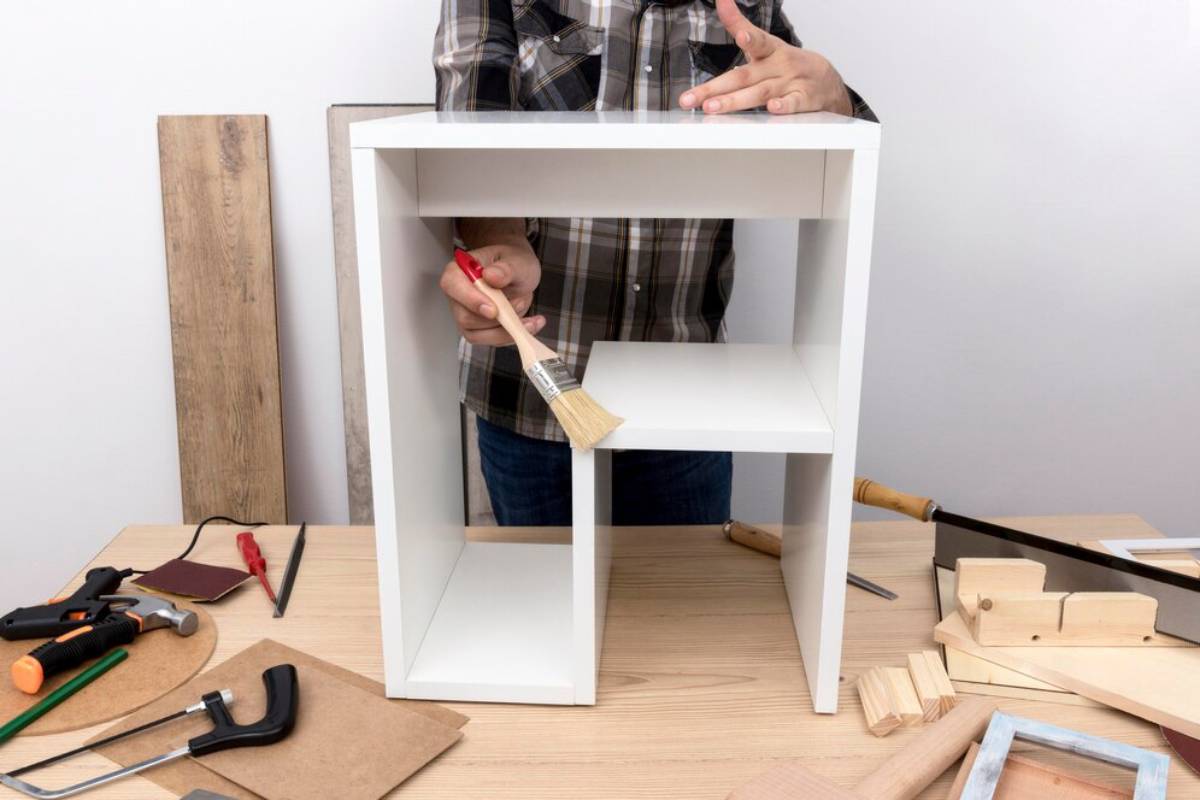
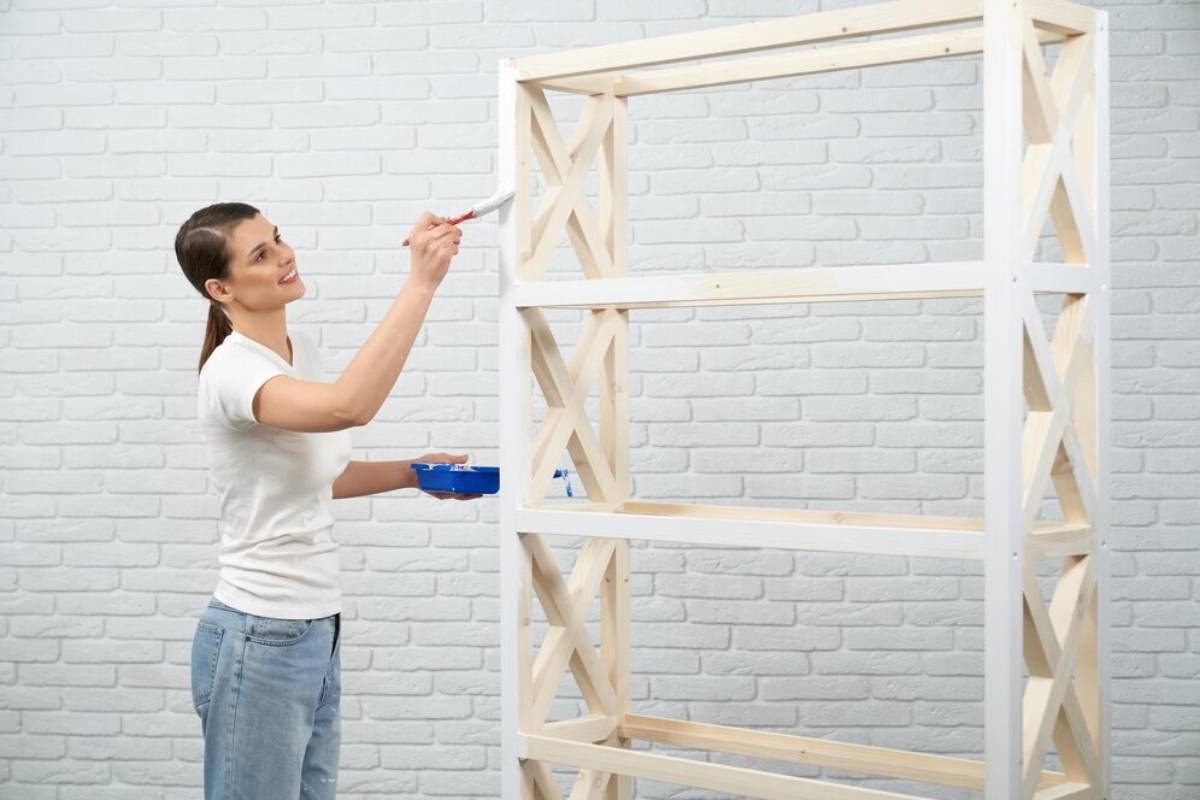
Apply a Natural Finish

Avoid chemical-heavy stains or glossy varnishes. Instead, choose one of the following:
- Beeswax: Adds warmth and richness without altering grain
- Hardwax oil: Protects while keeping a natural feel
- White oil: Lightens the tone subtly — ideal for pale Nordic interiors
Apply with a soft cloth. Let dry and reapply if needed. This step deepens the wood’s tone and offers gentle protection from fingerprints and moisture.
Install Your Floating Shelf Brackets
For that classic ‘floating’ illusion, use concealed brackets that hide inside the board. Here’s how:
- Mark your wall holes using the bracket as a template
- Drill into studs or use heavy-duty anchors for hollow walls
- Screw the brackets securely into the wall
- Drill holes in the back of your shelf board to slide onto the bracket rods (if required)
Safety Note: Don’t skip anchors. A well-secured shelf is a safe shelf — especially if it’ll carry heavy items.
Mount and Style
Slide the board onto the brackets. Check it’s level. Step back and admire — but we’re not done yet.
What you put on your shelf matters just as much as the shelf itself. Use the Scandi rule of three:
- 1 decorative item (e.g. a ceramic vase)
- 1 functional item (e.g. a book or candle)
- 1 natural item (e.g. a plant or stone)
Keep breathing room between objects to maintain visual calm.
Style Tips for Different Rooms
Living Room
- Pair two or three shelves vertically for book or photo display
- Stick to neutral décor: monochrome prints, handmade ceramics, a trailing plant
- Mount above a console table or sofa for layered design
Kitchen
- Open shelving brings warmth and accessibility
- Display wood utensils, spice jars, and linen tea towels
- Use washable finishes like food-safe mineral oil
Bedroom
- One shelf above the headboard adds charm without clutter
- Great for bedtime reads, a small lamp, or personal mementos
- Style with calm tones — think grey-green eucalyptus or driftwood pieces
Bathroom

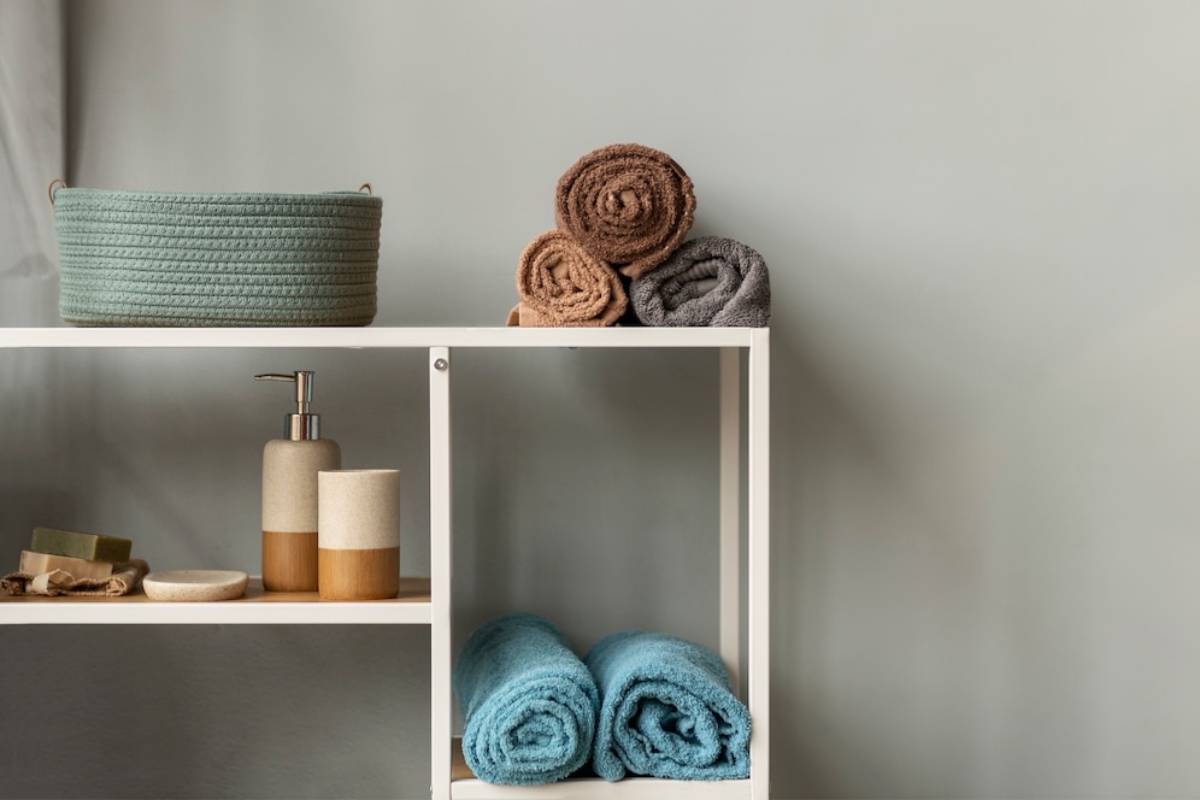
- Store rolled towels, amber glass bottles, or soaps
- Make sure to seal wood for moisture resistance
- Avoid overloading — keep it serene
Real-Life Inspiration: Hanna’s Hallway Hack
Hanna, a textile designer in Gothenburg, used reclaimed oak floorboards to make three floating shelves in her hallway.
“I wanted something natural that didn’t take up space,” she shares. “I styled them with a small mirror, dried flowers, and a dish for keys. Now it’s the first thing people notice when they walk in.”
The shelves sit beneath a coat rack, adding layered function to a narrow space — a textbook example of Scandinavian smart design.
Common Mistakes to Avoid
Even the simplest projects benefit from thoughtful execution. Here are pitfalls to dodge:
- Not measuring level — even a slight tilt stands out
- Skipping wall checks — always find a stud or use heavy-duty anchors
- Using overly thick wood — it makes the shelf look bulky and ruins the minimal aesthetic
- Over-decorating — remember, the shelf is meant to calm, not clutter
Sustainability Tips
Scandi design is inherently eco-conscious. Make your shelf even greener by:
- Using offcuts from timber yards or old furniture
- Finishing with plant-based oils instead of synthetic varnishes
- Avoiding plastic anchors if metal versions are available
- Designing it to last — so it won’t be replaced with the next trend
Where to Buy Supplies
Timber
- SL Hardwoods – FSC-certified woods
- Woodshop Direct – UK-wide timber delivery
- Local salvage yards – Perfect for reclaimed wood with character
Finishes
- Osmo – Natural hardwax oils
- Fiddes & Sons – Traditional beeswax blends
- Auro – Eco-certified plant-based paints and oils
Hardware
- IKEA – Surprisingly good for concealed brackets
- IronmongeryDirect – Wide selection of shelf supports
- Etsy – Handmade metal supports with a Scandi twist
Make Room for What Matters
Crafting your own floating shelf DIY isn’t just about adding storage — it’s about embracing a lifestyle rooted in simplicity, functionality, and beauty. It’s about letting your walls breathe, your belongings shine, and your mind settle into a quieter, more intentional way of living.
A minimal shelf made with your own hands becomes more than a feature — it’s a statement. One that says, “I value what I bring into my home. I want it to be useful. And I want it to feel like me.”
So whether you’re a beginner with a borrowed drill or a weekend DIY enthusiast with a garage full of tools — this project is your invitation to join the Scandinavian woodworking tradition of thoughtful, sustainable, and human-centred design.


